- HATATEST PORTABLE DR SYSTEMS
-
Sales@hata-ndt.com0086-0371-86172891
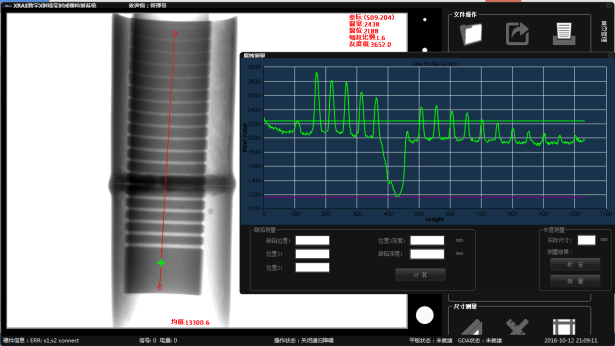
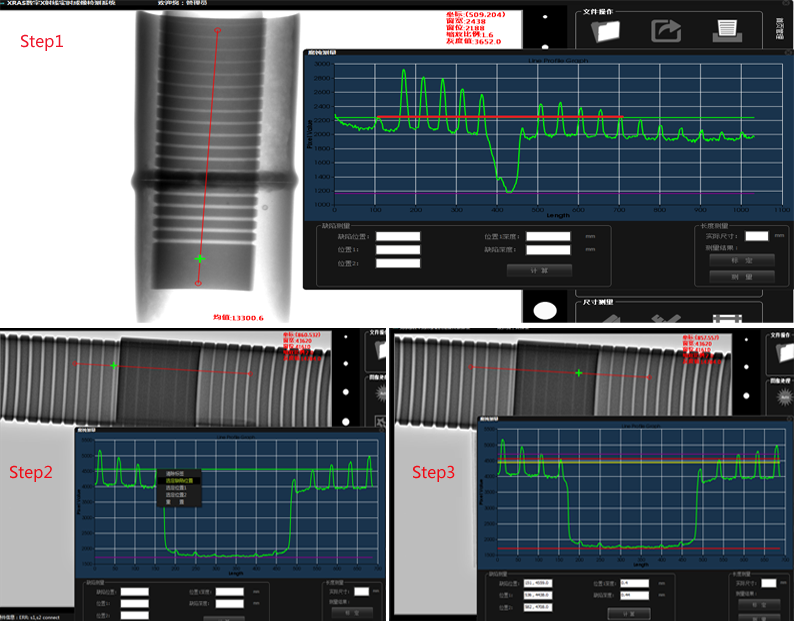
The traditional gray scale contrast method can only infer the approximate depth of defects, and it is difficult to accurately judge the depth of defects, especially crack defects, unless the opening defects are very serious, the blackness or gray level is very obvious. It is difficult to judge the depth of superficial and extensible cracks.
Our technical team can accurately measure the defect depth with an accuracy of 0.01 mm by precise calculation of the grooved test blocks and imaging software. This technology is embodied in our software.
The intelligent filter grating function of HATATEST software can suppress the ray scattering effect, reduce image noise and improve edge sharpness. When the X-ray reaches the detector surface, it is no longer necessary to use physical filter grating to filter, and all scattering and straight rays are collected.
18mm thickness pressure vessel steel plate. X ray generator: HTMAP250, Flat Panel detector: HT1012JW , IQI: FE10-16
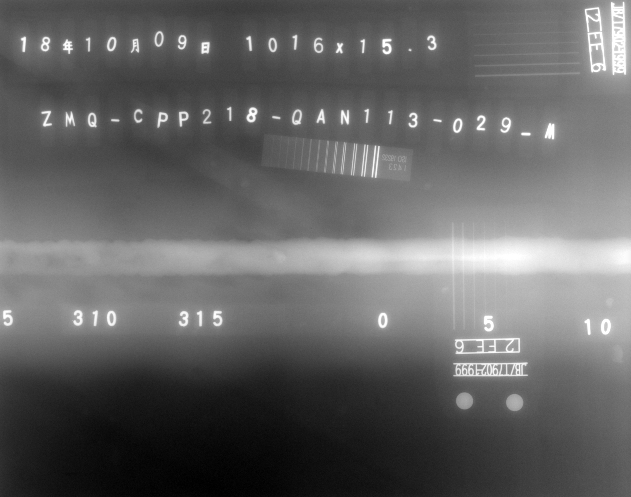
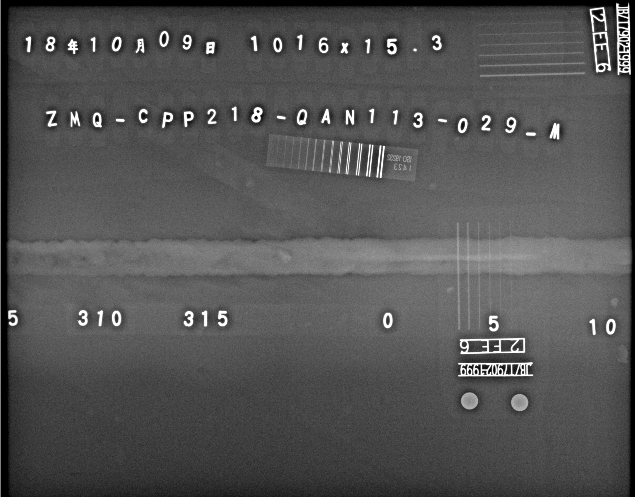
12mm thickness pressure vessel steel plate. X ray generator: HTMAP250, Flat Panel detector: HT1012JW , IQI: FE10-16
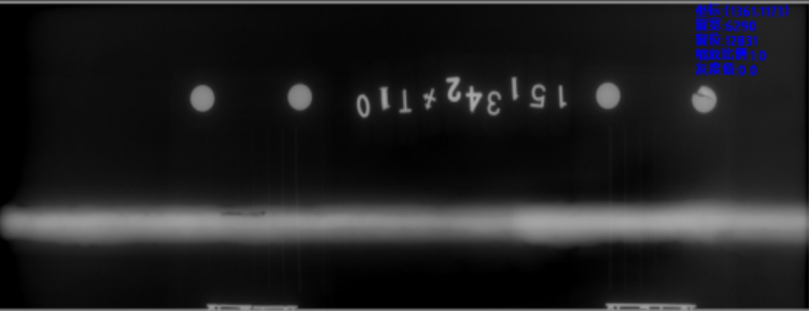
Before
After
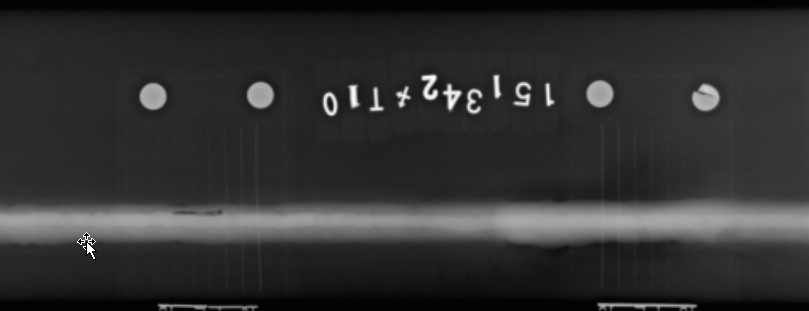
In practical inspection, we often encounter different materials or thickness on the same workpiece. Traditional solutions require multiple exposures of varying voltage, which greatly slows down the detection efficiency. HATATEST technical team solved this problem by instantaneous superposition imaging technology. This is the multi-energy fusion technology in HATATEST software.
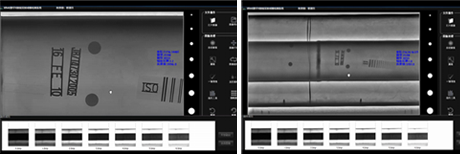
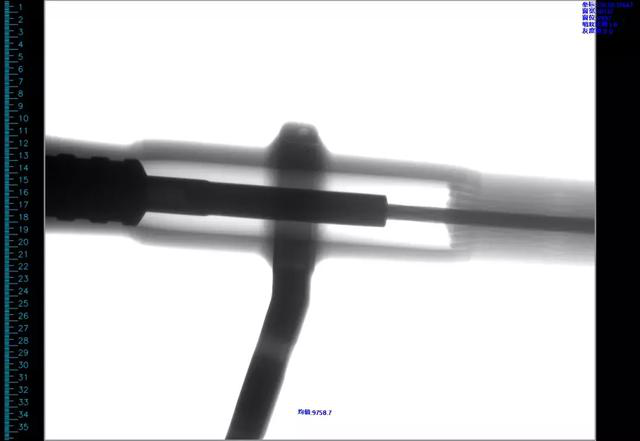
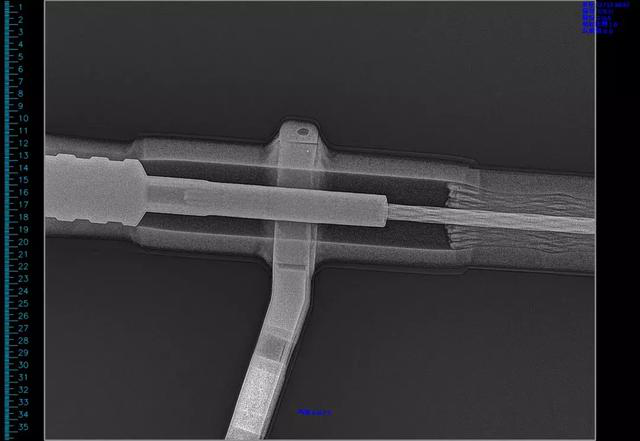
Seamless splicing technology of HTSW7.0 software can not only seamlessly splice multiple X-ray images into 2D (for steel plate) but also 3D (for pipeline)
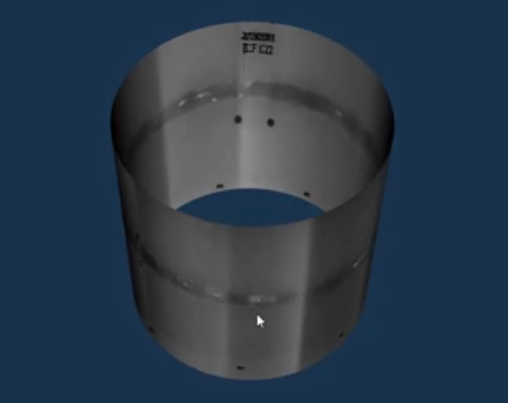
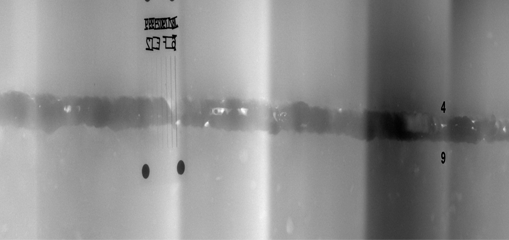
The patented technology of one-key cascaded fine enhancement technology of HATATEST X-ray digital imaging system software greatly improves the efficiency of X-ray image acquisition, processing and evaluation, and avoids the repetitive work of detectors and reviewers.
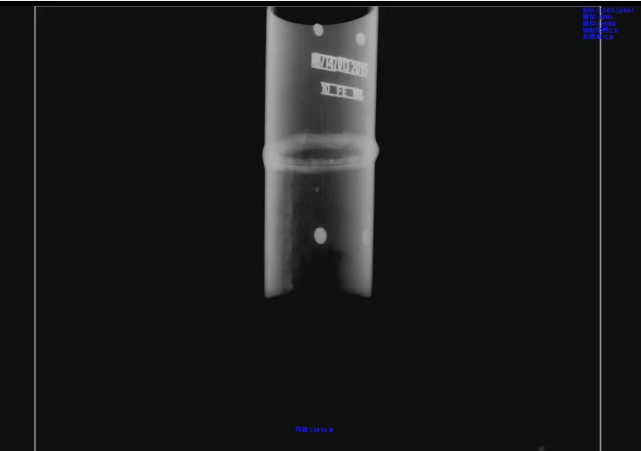
HATATEST X-ray digital imaging software has the function of automatic defect identification.
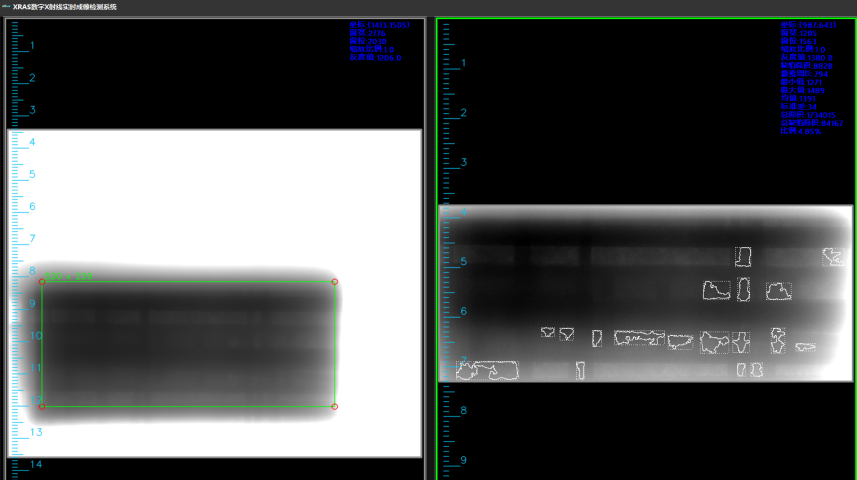
HATATEST X-ray digital imaging software has the function of Images Enhancements in real time
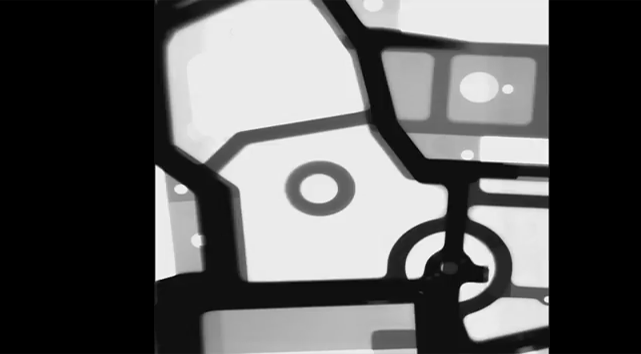
HATATEST NDT X-ray digital imaging software has the Magic mirror function. With this function, the users can achieve local unlimited scaling, image enhancement. Locally generated image files can be stored and printed independently.
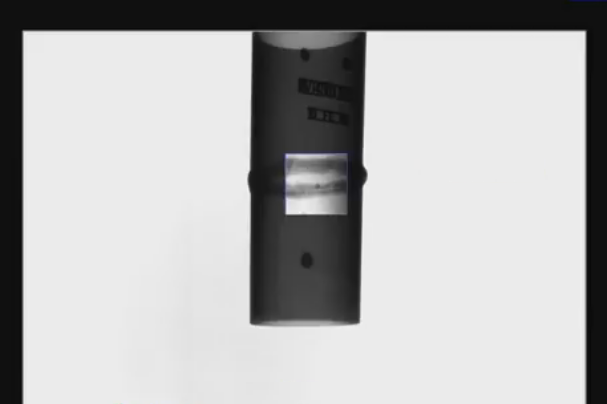
In addition to the above functions, HATATEST NDT X-ray digital imaging software has the following features and functions:
--- real-time image acquisition and analysis. The image can be displayed, stored, amplified, measured, annotated, enhanced, luminance and contrast, sharpness, edge enhancement, gain and image rotation, average, superposition and annotation, and the function of cancelling / redoing and restoring the original image.
--- database management function: all stored images can input user name, detection date and time, category, location, file name, project name, imaging device type, type of transmission source used, exposure time and image description. The database allows you to observe the details of the image. It also includes fast storage, input / output, backup and recovery functions, and storage format using standard DICONDE format.
--- supports wireless flat management, and wireless communication protocols are used between the console.
--- corrosion measurement : HATATEST NDT DR software can automatically measure and calibrate the depth and the area of corrosion.
--- The function of the non-contact digital ranging (the distance between the plate detector and the ray source), the range 30-150cm, the measurement precision of 0.5cm, and the real-time display of the focal length on the display.) (gift)
--- The software can control the regulating voltage of the X-ray machine, and the exposure time can be displayed and adjusted in real time on the software operation interface. The parameters are automatically calibrated to obtain the best exposure parameters.
RGV Trailer gas cylinder detection system
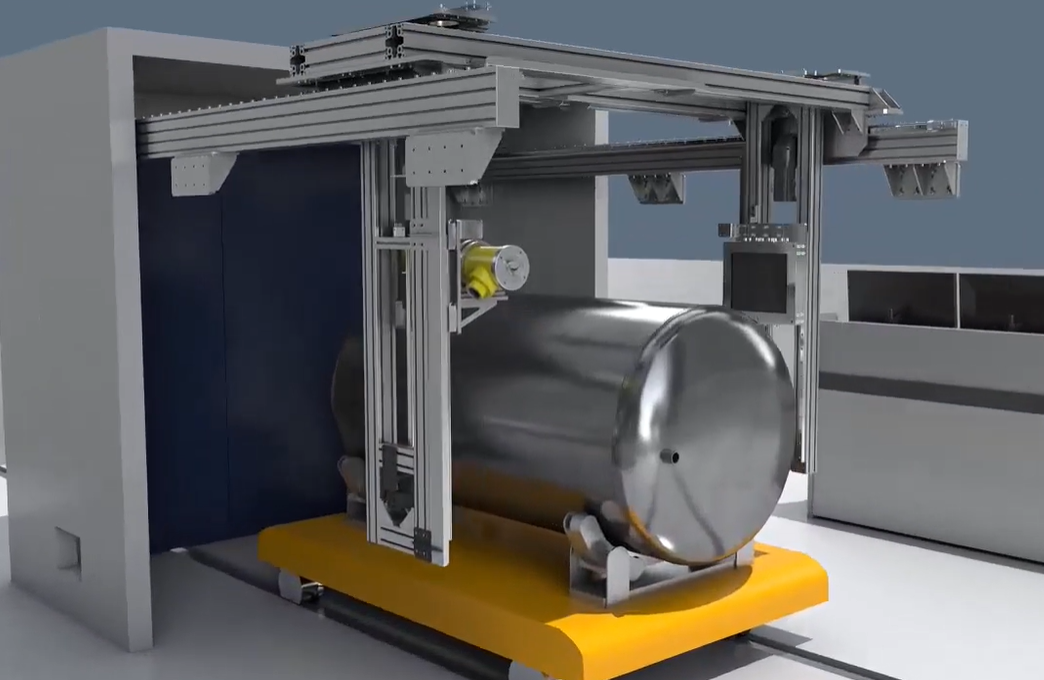
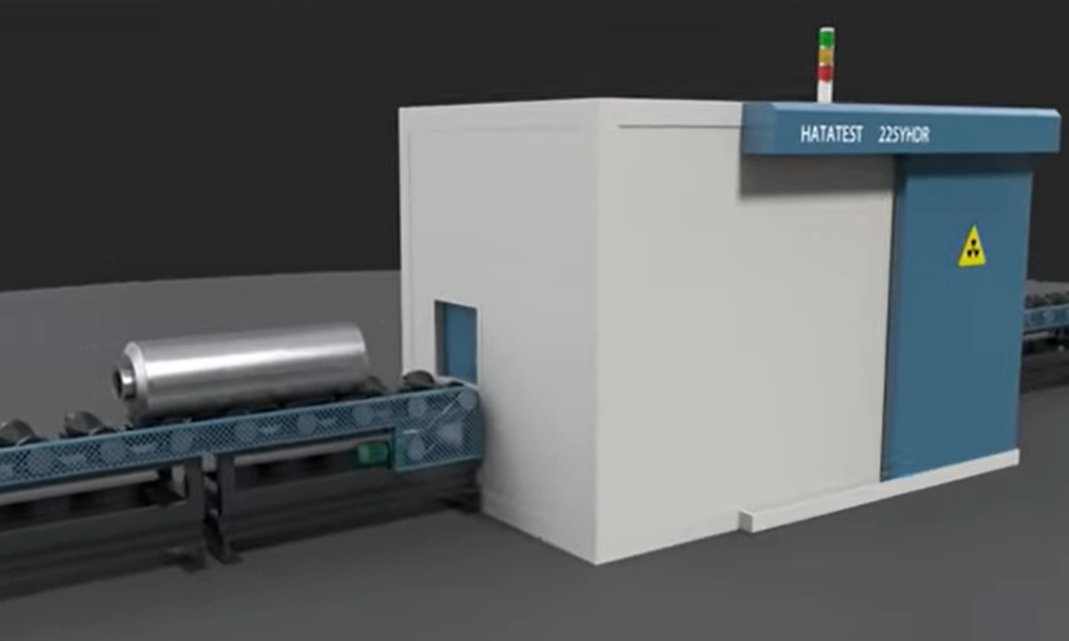
Online automatic detection system for gas cylinder welds 2
Frame type drum DR detection system
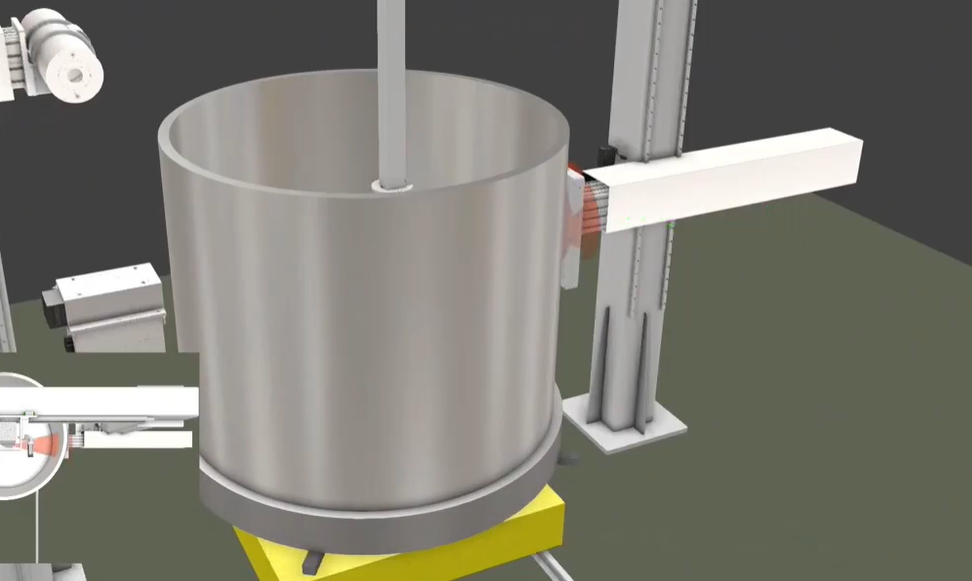
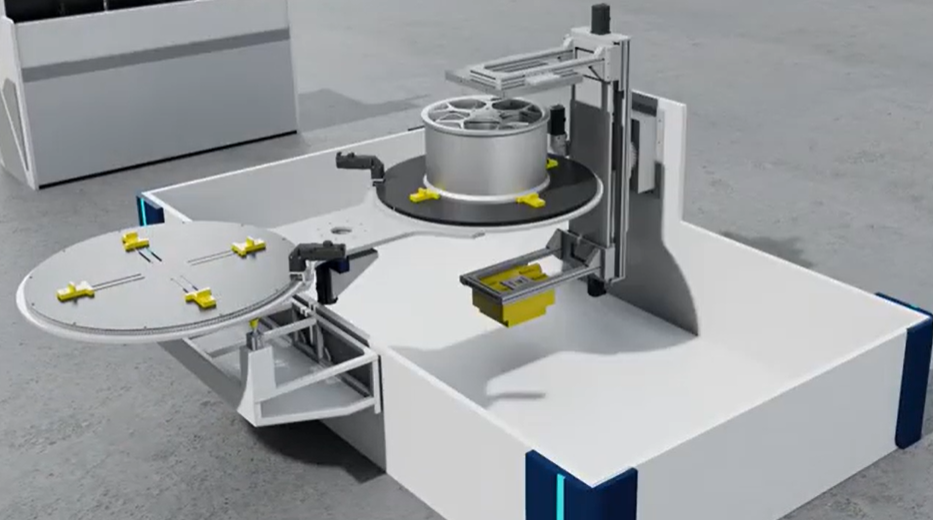
Rotating DR detection system
Pipe DR Detection system
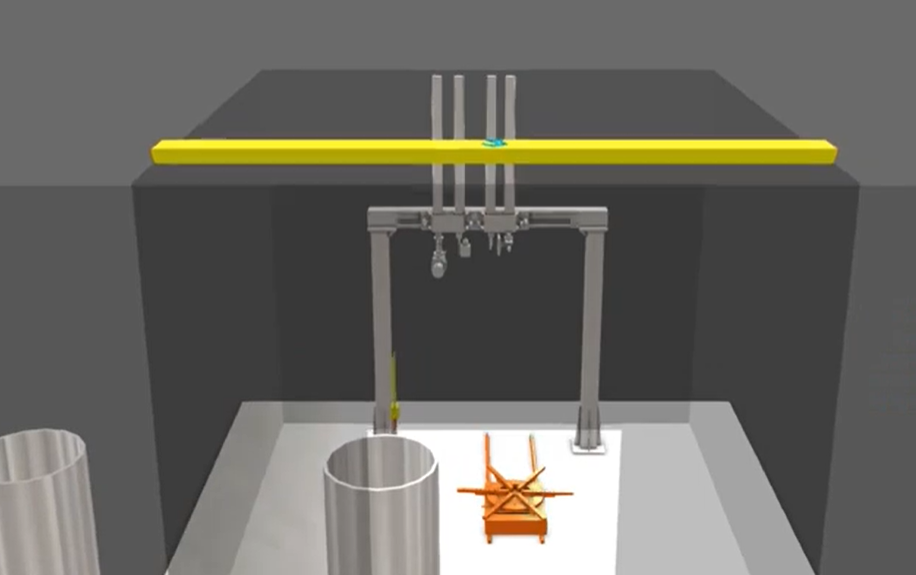
Composite steel pipe online DR detection system
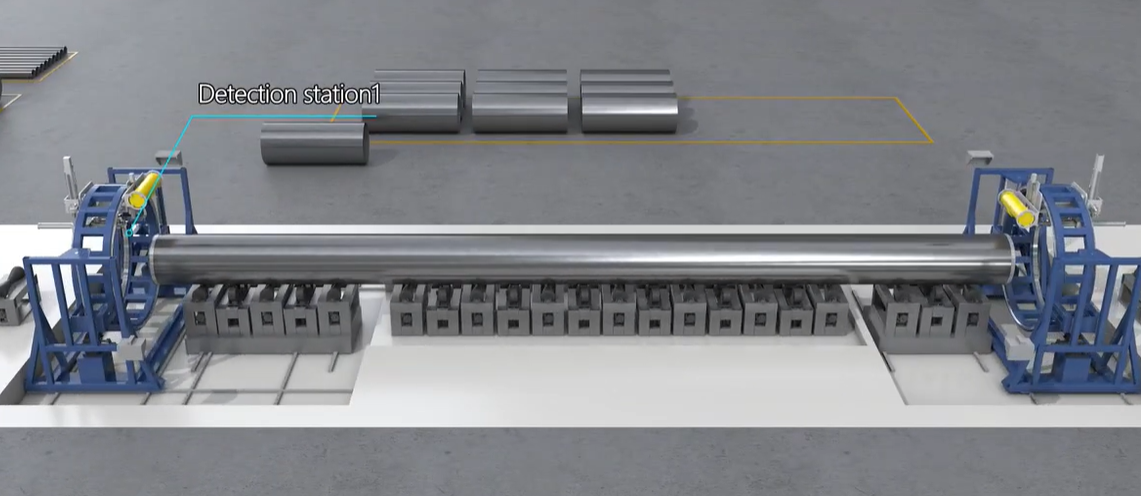
CR+Film Automated Inspection System
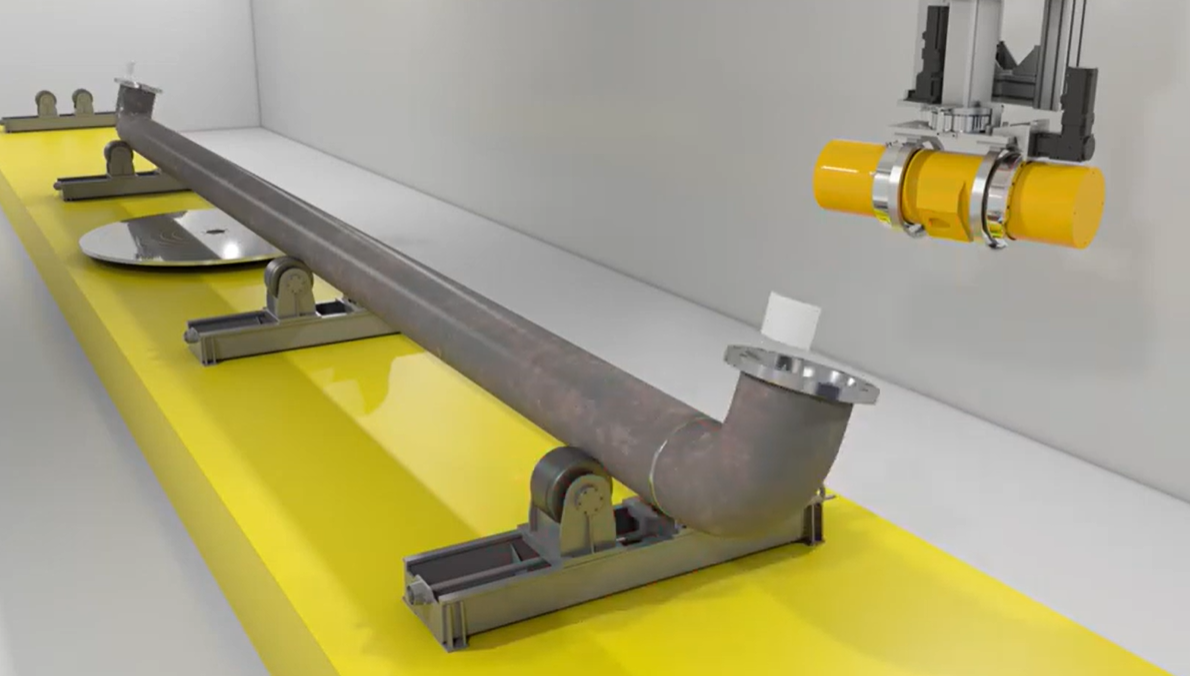
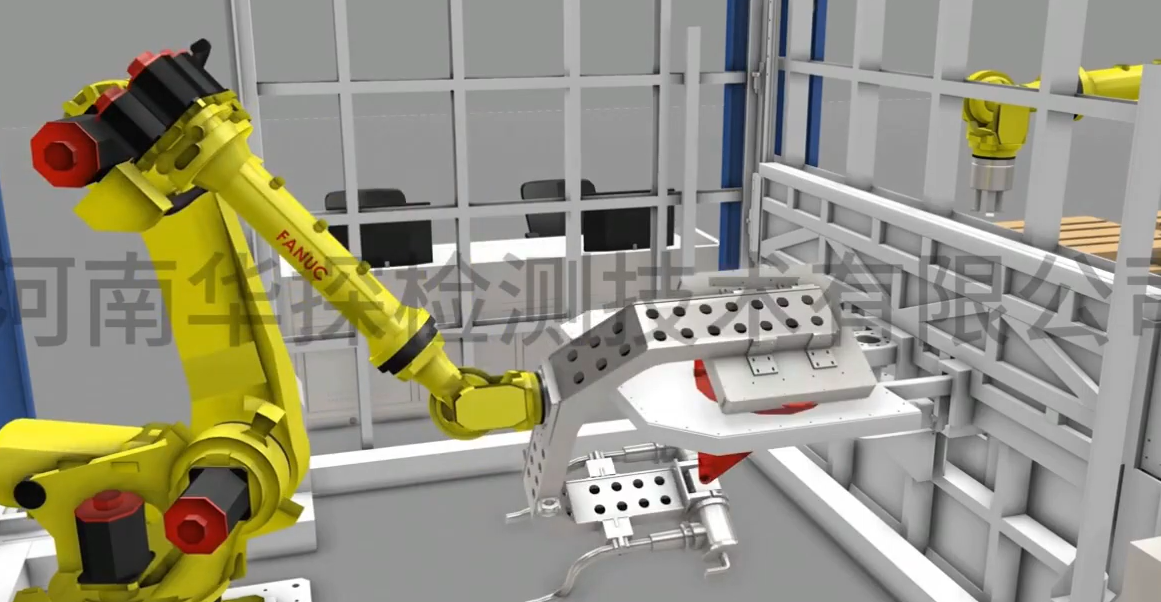
DR detection system for automotive wheel hubs
