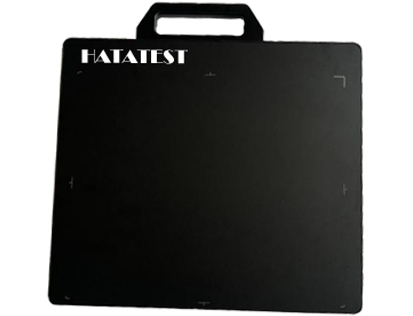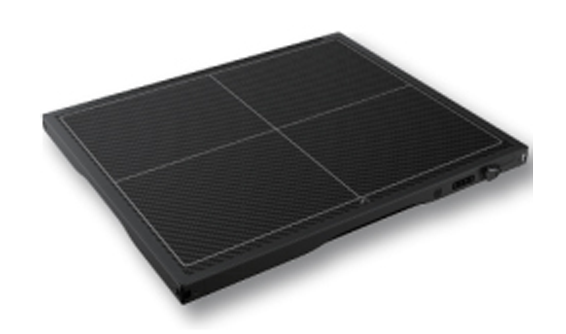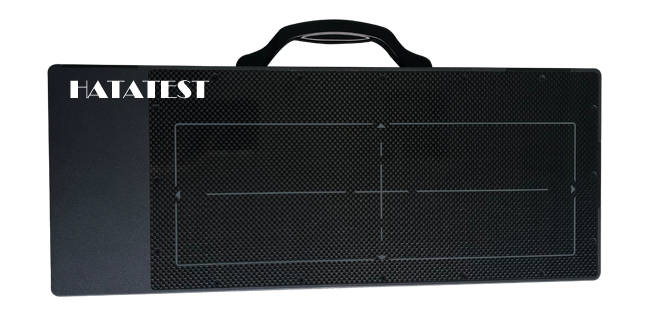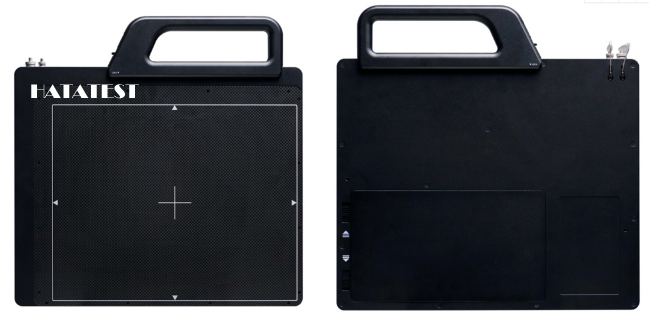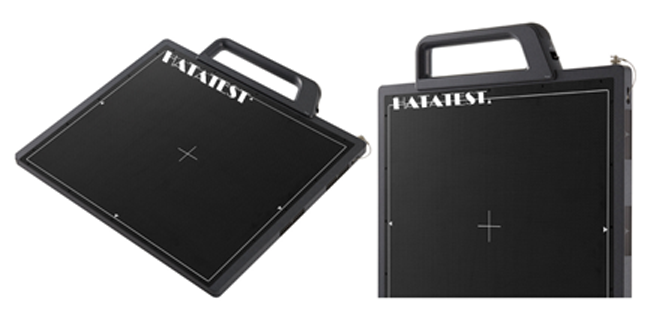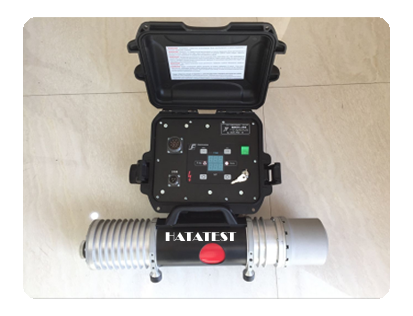
The use of X-ray real-time imaging system is to make the car more secure. Many auto parts manufacturers need to use the car, and every workpiece must be inspected. For example, are there any flaws, cracks, or bubbles in the parts of the automobile engine, automobile pistons, piston rings, connecting rods, brakes, braking systems, steering wheels, automobile wheels, shock absorber connecting rods and other parts. Once these unqualified products appear, it will directly affect the safety of the car. Therefore, we must do a good job of detection. So what instrument can be used to achieve this? X-ray non-destructive testing can meet the needs of this test.
No matter the X-ray flaw detector operator chooses the equipment detection method, there will be certain flaw detection limitations. The detection performance of any flaw detection machine is limited. Before you perform flaw detection, you must analyze the requirements of careful flaw detection and then select the appropriate equipment according to the actual flaw detection standards. In order to improve the practicability of the flaw detection equipment, the equipment operator must also carefully consider the specifications, structures and material factors of the workpiece to be tested. In order to improve the comprehensive performance of flaw detection equipment, everyone should choose equipment with comprehensive detection characteristics as much as possible. When current must be passed directly through the test piece, care should be taken to prevent burns at the electrical contact surfaces, and the contact surfaces of all ceramic tube X-ray flaw detectors should be clean. The test piece shall be clamped between the contact plates and appropriate pressure shall be applied to ensure good electrical contact. Where possible, large and heavy test pieces should be mounted on appropriate fixtures to ensure proper positioning. When it is necessary to pass a current through a large, round specimen, a contact ball should be used. When the protective layer may pass the color current, the protective layer at the contact should be removed. After inspection, the protective layer shall be repaired again whenever feasible. Non-destructive testing is the biggest feature of flaw detection machines. As long as everyone can choose high-quality flaw detection equipment, they can be tested according to actual flaw detection standards and projects, and also according to the formal non-destructive testing process.
-
 Sales@hata-ndt.com
 -
 0086-0371-86172891

