The advantages of eddy current inspection include its effectiveness in detecting surface-breaking flaws and ability to be used on wet surfaces
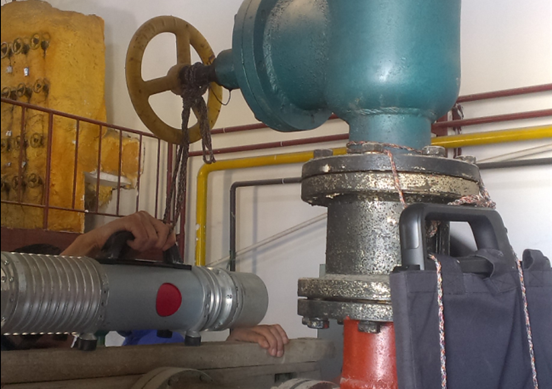
Currently, several nondestructive examination (NDE) techniques are used to inspect welds for defects: magnetic particle inspection (MP), liquid penetrant inspection (LP), ultrasonic testing (UT), X-ray testing (RT), and eddy current testing (ET). All have their advantages and disadvantages.
- Magnetic particle is straightforward and relatively easy to use but is not good for welds that have coatings or wet surfaces (surfaces must be dried first).
- Ultrasonic testing is good for finding subsurface defects but is operator dependent.
- Dye penetrant is good for surface cracks, but it also requires a dry surface and is operator dependent.
- X-ray is good for subsurface defects, but the radiation hazard requires additional safety considerations not necessary for other techniques.
- Eddy current is good for detecting surface-breaking defects, can detect these defects through fairly thick coatings (up to 2 mm), and can be used on wet surfaces (even underwater), but several scans of an individual weld must be performed to ensure a defect is not missed. Eddy current is also an operator-dependent technique.
As eddy current is best used for detecting surface-breaking cracks, its most practical applications relate to the in-service inspection of welded structures that are subject to a cyclical loading that can lead to fatigue crack propagation in critical welded areas.
How Eddy Current Works
In eddy current testing, a sinusoidal AC voltage is applied across the eddy current probe or inspection coil - Fig. 1. This coil creates an electromagnetic field, which in turn causes current flow in the surface of the material being inspected. (The circular nature of these currents has been compared to the eddies in a stream or river, hence the term "eddy current.") When the coil or probe is scanned across the material surface, changes in the material's physical properties, i.e., geometry, temperature, conductivity, material type, flaws, etc., affect the current flow generated by the electromagnetic field induced in the material by the probe. These changes reflect back to the probe. If the voltage response of the eddy current probe is monitored, then changes in voltage amplitude and phase angle shift can be used to show changes in material properties. These changes in magnitude and phase angle are displayed on what is known as an impedance plane display.
Flaws are most detectable when the eddy current path is crossed at right angles by the flaw - Fig. 3. Special probes designed for weld inspection help limit this problem.
Figure 4 shows the lift-off response of various thicknesses of nonconductive coatings on a ferrous test block. A clear relationship between the magnitude of the shift of the balance point and the coating thickness can be seen. This allows for assessment of the coating thickness on the actual structure to be inspected, which enables the operator to adjust the instrument gain level to normalize flaw signal response. This, in turn, allows use of alarm gates for go/no go testing and flaw sizing between structures with different coating thicknesses.
Figure 5 shows the typical impedance plane display flaw indications in a Hocking WeldScan test block. The positive y-axis indications are generated with the probe in one orientation. The negative y-axis indications occur when the probe is rotated 90 deg. The indications are greater in magnitude for deeper flaws. (Note: WeldScan probes are differential probes with two orthogonal coils. This design also acts to eliminate signals associated with changes in the material properties in the heat-affected zone as well as minimizing the lift-off effect encountered when inspecting rough welds.) Normally, crack depth can be assessed to approximately 4.5 mm in depth. Beyond that, the signals level out. Crack length can also affect the response if the crack length is smaller than the probe's electromagnetic field area. Crack branching can give an indication the crack is deeper than it actually is.
-
 Sales@hata-ndt.com
 -
 0086-0371-86172891

