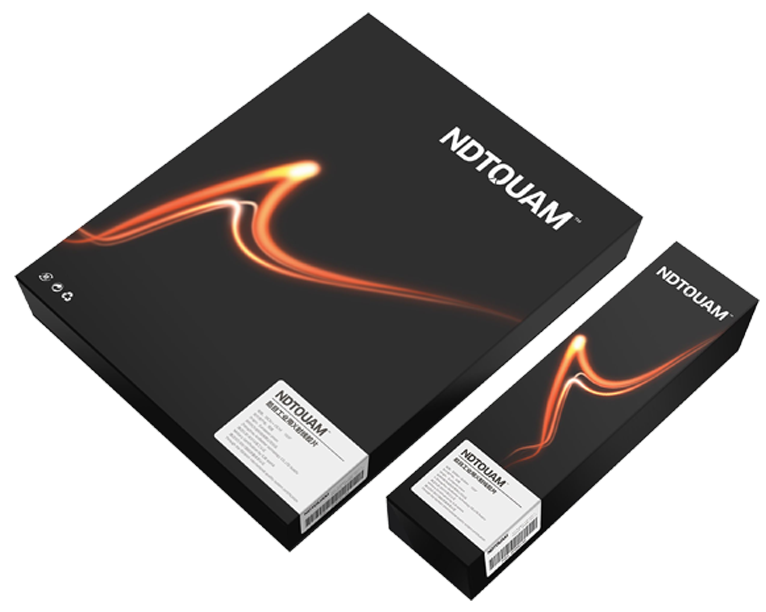
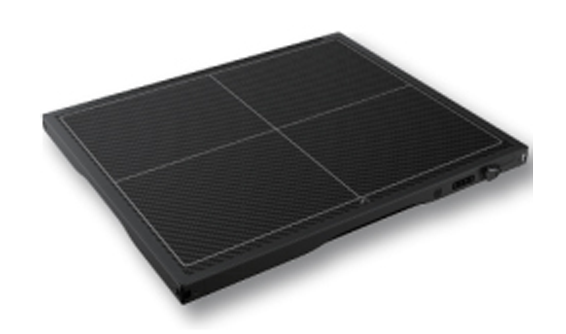
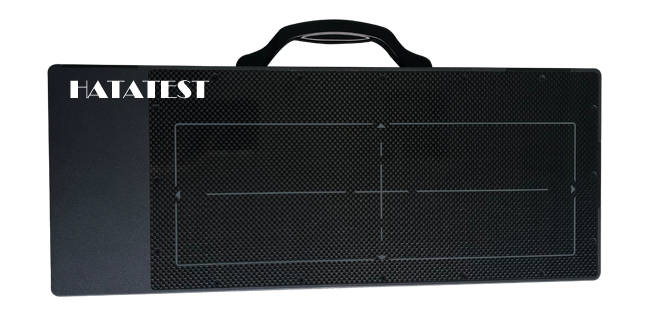
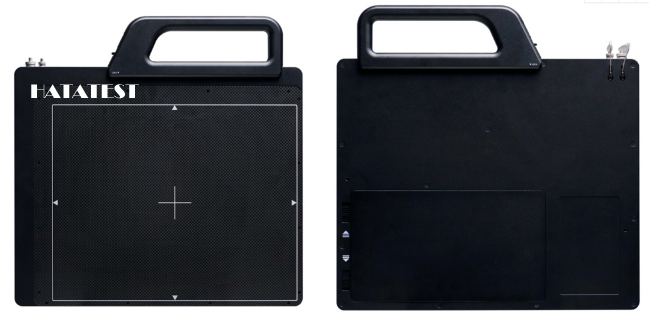
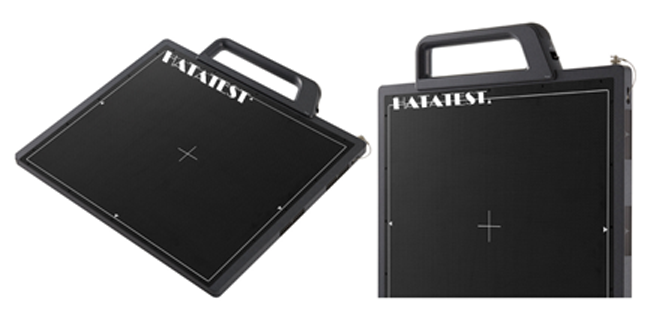
Radiographic Testing (RT or X-ray or Gamma ray) is a non-destructive testing (NDT) method that examines the volume of a specimen. Radiography (X-ray) uses X-rays and gamma-rays to produce a radiograph of a specimen, showing any changes in thickness, defects (internal and external), and assembly details to ensure optimum quality in your operation.
RT usually is suitable for testing welded joints that can be accessed from both sides, with the exception of double-wall signal image techniques used on some pipe. Although this is a slow and expensive NDT method, it is a dependable way to detect porosity, inclusions, cracks, and voids in weld interiors.
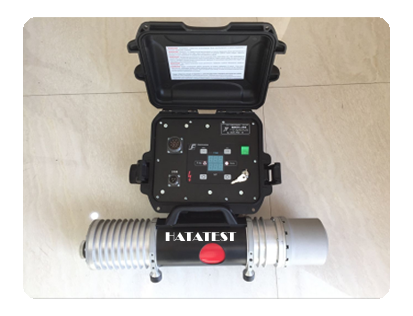
RT makes use of X-rays or gamma rays. X-rays are produced by an X-ray tube, and gamma rays are produced by a radioactive isotope.
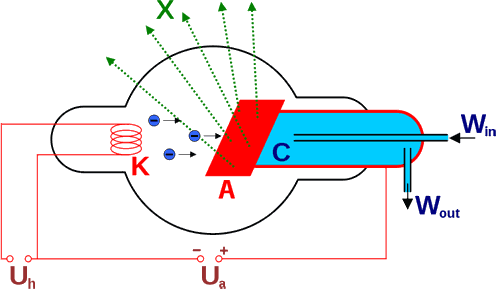
WATER COOLED X-RAY TUBE
- K - cathode (electron source)
- A - anode (target electrons)
- C - cooling Water
- UH - heating voltage
- UA - accelerating voltage
- X - X-radiation (X-rays)
The method is based on the same principle as medical radiography in a hospital. A piece of radiographic film is placed on the remote side of the material under inspection and radiation is then transmitted through from one side of the material to the remote side where the radiographic film is placed.
The radiographic film detects the radiation and measures the various quantities of radiation received over the entire surface of the film. This film is then processed under dark room conditions and the various degrees of radiation received by the film are imaged by the display of different degrees of black and white, this is termed the film density and is viewed on a special light emitting device.
Discontinuities in the material affect the amount of radiation being received by the film through that particular plane of the material. Qualified inspectors can interpret the resultant images and record the location and type of defect present in the material. Radiography can be used on most materials and product forms, e.g. welds, castings, composites etc.
Radiographic testing provides a permanent record in the form of a radiograph and provides a highly sensitive image of the internal structure of the material.
The amount of energy absorbed by the object depends on its thickness and density. Energy not absorbed by the object causes exposure of the radiographic film. These areas will be dark when the film is developed. Areas of the film exposed to less energy remain lighter. Therefore, areas of the object where the thickness has been changed by discontinuities, such as porosity or cracks, will appear as dark outlines on the film. Inclusions of low density, such as slag, will appear as dark areas on the film, while inclusions of high density, such as tungsten, will appear as light areas.
All discontinuities are detected by viewing the weld shape and variations in the density of the processed film. This permanent film record of weld quality is relatively easy to interpret if personnel are properly trained. Only qualified personnel should conduct radiography and radiographic interpretation because false readings can be expensive and can interfere seriously with productivity, and because invisible X-ray and gamma radiation can be hazardous.
-
 Sales@hata-ndt.com
 -
 0086-0371-86172891

