X-ray digital imaging inspection
1. Scope of competence
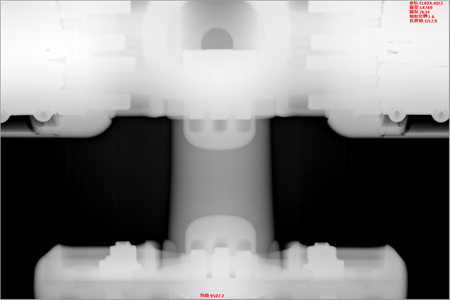
(A) Can detect defects such as under-penetration, pores, slag inclusions, cracks and bevels in several butt joints;
(B) Defects such as shrinkage, inclusions, pores and porosity in the casting can be detected;
(C) The location, size, and nature of the defect's plane projection can be determined;
(D) the penetration thickness of the radiographic test, which is mainly determined by the radioactive energy;
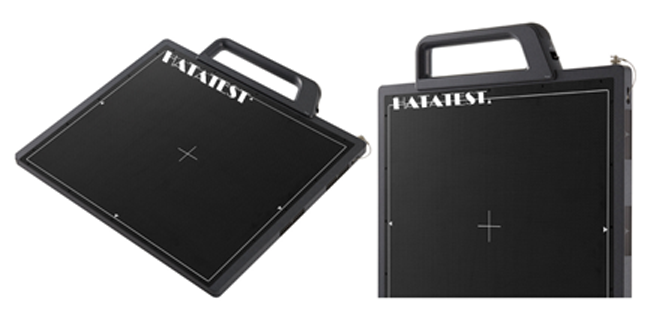
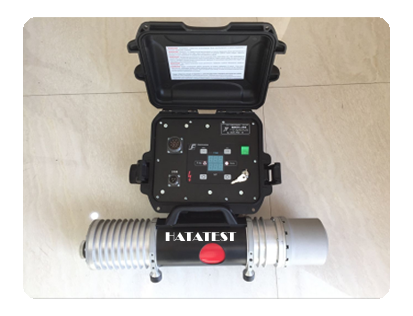
(E) Image resolution is mainly determined by the pixel size of the digital detector and the focus size of the ray machine;
(F) Can achieve still imaging and continuous imaging;
(G) The thickness tolerance of one transillumination is greater than that of conventional radiographic inspection;
(H) It is especially suitable for the detection of large-volume objects of the same specification.
2. Limitations
(A) It is difficult to detect defects in forgings, pipes and bars;
(B) It is difficult to detect defects in T-welded joints and fillet welds;
(C) It is difficult to detect the small cracks and unmelted in the weld;
(D) It is difficult to detect the defect's own height;
(E) The performance of the digital detector is affected by the temperature and humidity of the detection environment.
3. Magnetic leakage detection
Ability range
(A) It can detect volume defects such as corrosion and mechanical damage on the surface of the base material of the coated ferromagnetic material;
(B) Can detect surface defects such as cracks on the surface of the base material of the coated ferromagnetic material;
(C) The location of the defect can be determined, and the length of the surface opening defect or the depth equivalent of the volume defect can be given;
(D) The sensitivity and depth of magnetic flux leakage detection are mainly determined by the excitation depth and the resolution of the sensor.
4. Limitations
(A) It is difficult to detect buried defects inside ferromagnetic materials;
(B) It is difficult to detect defects of workpieces with a thickness exceeding 30mm;
(C) It is difficult to detect defects parallel to the excitation direction;
(D) It is difficult to detect welding defects.
-
 Sales@hata-ndt.com
 -
 0086-0371-86172891

