NEWS
-
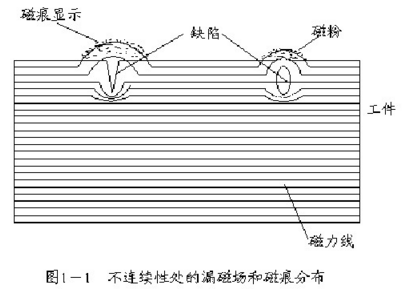
After the ferromagnetic material and the workpiece are magnetized, due to the discontinuity, the magnetic field lines on the surface of the workpiece and the near surface are locally distorted to generate a floor magnetic field, and the magnetic powde
-
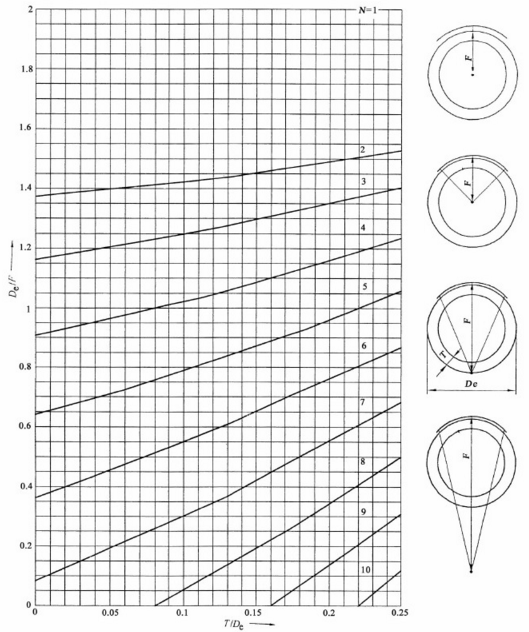
The number of transillumination times of the small-diameter tube butt joint 100% detection: when obliquely transilluminated elliptical imaging, when T/Do ≤ 0.12, the transillumination is separated by 90° twice.
-
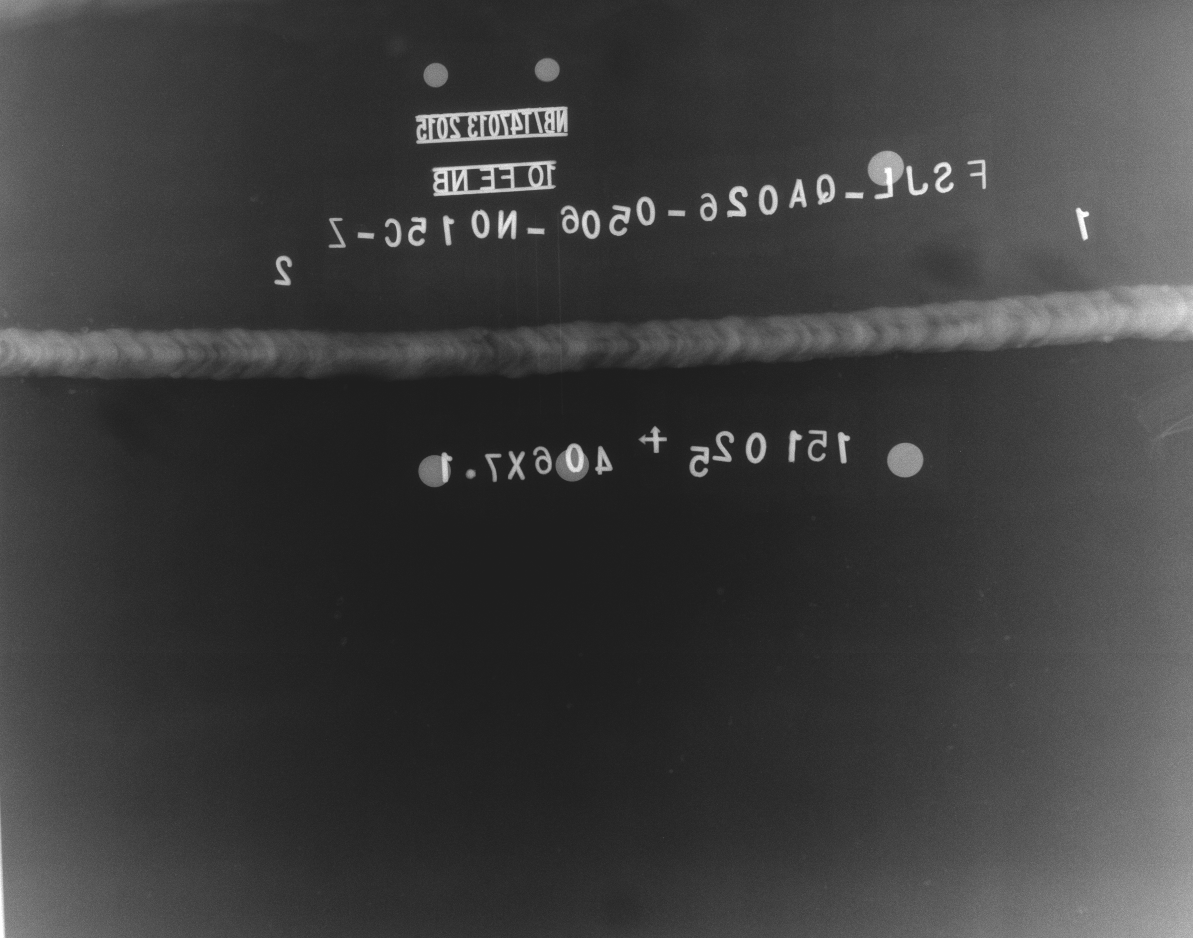
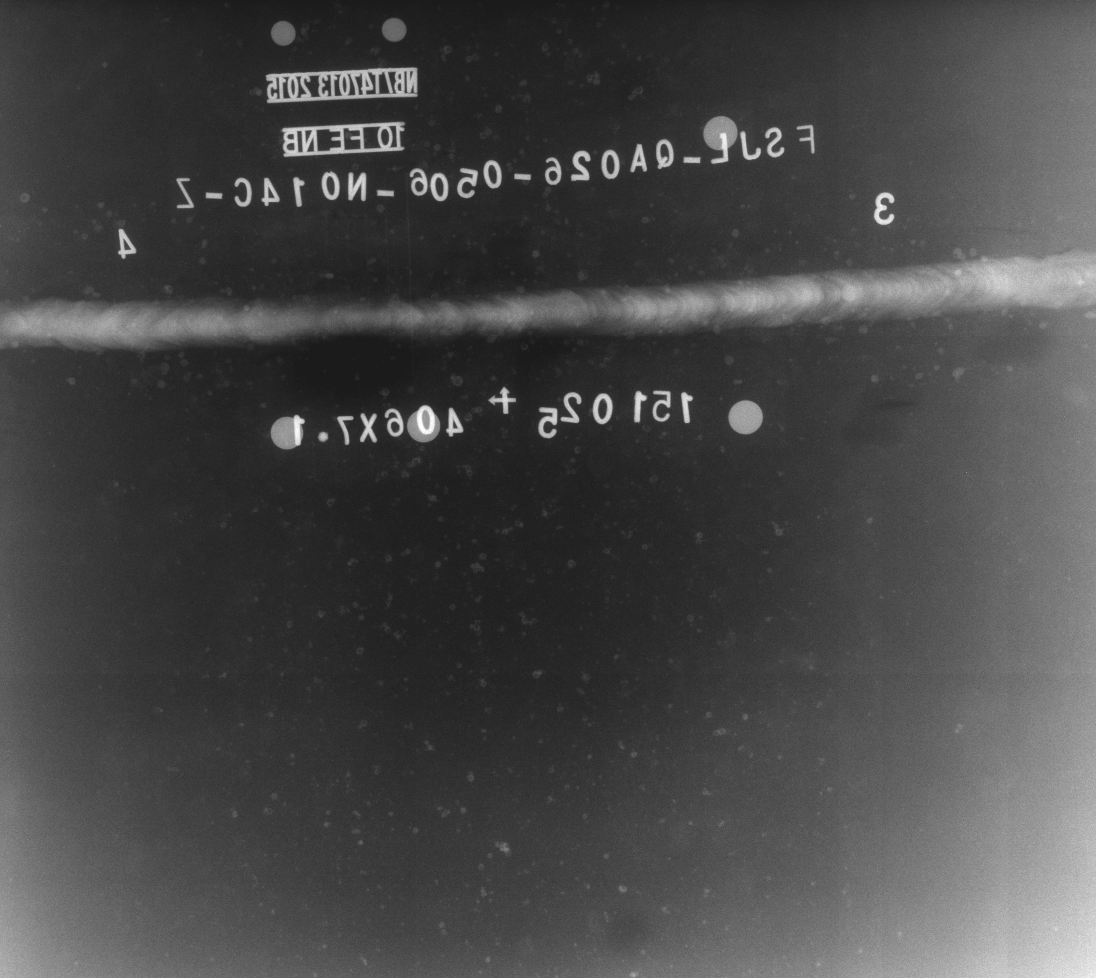
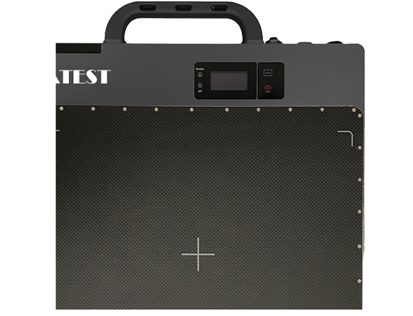
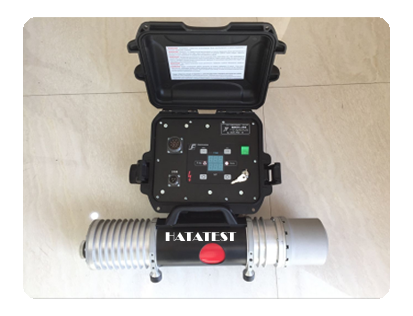
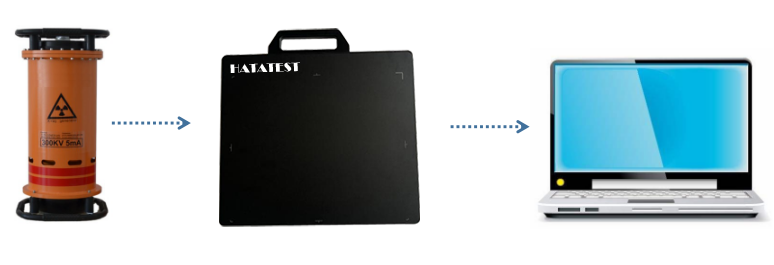
Radiation detection is most important to detect macroscopic geometric defects inside the test piece. Radiography refers to a non-destructive testing method in which a test piece is penetrated by X-ray or R-ray and a film is used as a device for record
-
The ultrasonic testing technology grade is divided into three detection levels: A, B, and C. Class A is the lowest level, low sensitivity; Class B is medium sensitivity; Class C is the highest level, high sensitivity
-
Weld quality Ultrasonic testing is mainly used to detect internal defects in welded joints, such as pores, slag inclusions, unwelded heads, unfused, cracks and other welding defects. Ultrasonic waves have a higher detection rate than ray-like defects
-
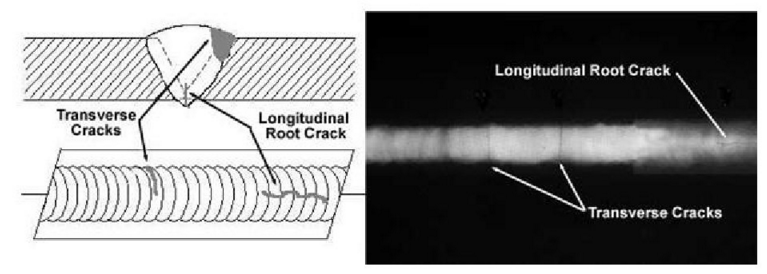
Welding defects are the phenomenon that the metal produced in the welded joint is discontinuous, not dense or poorly connected during the welding process.
-
 Sales@hata-ndt.com
 -
 +86 371 63217179
LATEST NEWS:

